7 Tips for Choosing an Active Piezo Buzzer
As connected devices become smaller and more responsive, audible alerts remain surprisingly important. MarketsandMarkets’ Sensors Market report projects strong growth in sensor adoption through 2028. That growth places more alert functions inside medical devices, industrial panels, appliances, and security equipment. A small sound still carries responsibility.
Choosing an Active Piezo Buzzer requires more than matching voltage and package size. The right part must produce a clear tone, maintain stable output, and survive its working environment. This guide examines seven practical selection points, including rated voltage, current consumption, sound pressure level, frequency, mounting method, operating temperature, and long-term reliability. These details matter when a buzzer sits behind a sealed panel or sounds beside a noisy motor.
Real testing often reveals uncomfortable gaps. A buzzer can meet its datasheet rating yet sound weak after installation. I have seen enclosure walls reduce perceived volume and power supplies introduce irritating noise. Datasheets usually specify sound pressure at a defined distance, often 10 centimeters, but real products may require different measurements. That difference deserves attention.
Industry guidance also supports disciplined evaluation. IEC 62368-1 addresses safety for audio, video, and information technology equipment, while IEC 60601-1 is relevant to medical electrical devices. These standards do not select a component for you. They define constraints your design cannot ignore. Manufacturer test reports, traceable specifications, sample checks, and life testing provide stronger evidence than marketing claims alone. This article helps engineers and buyers compare an Active Piezo Buzzer with practical judgment, not just a quick catalog search.
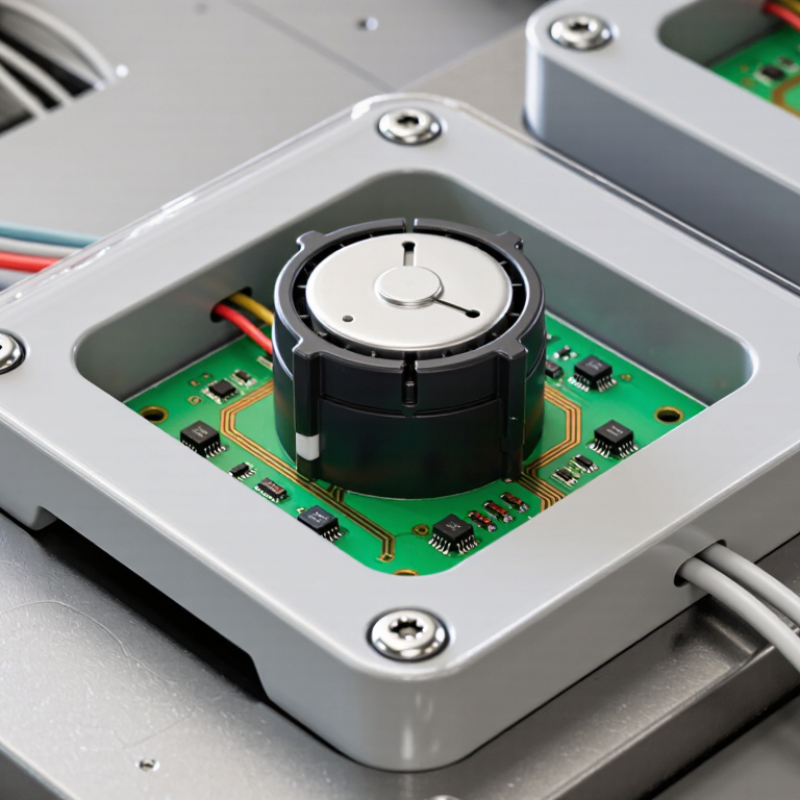
Identify Active Operation: Internal Oscillators Produce Sound from DC Power
7 Tips for Choosing an Active Piezo Buzzer
Identify Active Operation: Internal Oscillators Produce Sound from DC Power
An active piezo buzzer contains an internal oscillator. Apply suitable DC power, and it generates a tone without an external frequency signal. This feature simplifies warning circuits, control panels, and portable equipment.
In practical testing, connect the buzzer to a regulated supply and listen for an immediate, steady sound. No pulse generator is required.
Check the rated voltage, operating range, current draw, sound pressure level, and tone frequency. These values affect battery life and alarm visibility. A buzzer may sound at a lower voltage but produce a weak or unstable output.
The datasheet matters here. So does a real bench test. Measure current with a multimeter, especially when several indicators share one power rail.
Polarity also deserves attention. Some active devices require correct positive and negative connections. Reversed wiring can prevent operation or cause damage. Confirm the mounting direction, opening size, and surrounding noise before selecting a part. I once judged a buzzer only by its loudness, then found its tone difficult to notice near a cooling fan. That was a poor test. Test the actual enclosure and power source. Short wires help during evaluation, but they may hide voltage drops in the final assembly. A simple transistor or controller output may also need protection if the buzzer draws more current than expected.
Compare Acoustic Output: Target About 85 dB SPL at the Rated Test Distance
When choosing an active piezo buzzer, acoustic output deserves more attention than a large dB number.
A stated 85 dB SPL may sound adequate, but only at its rated test distance and voltage. Ask how the figure was measured. Was the buzzer tested in open air, inside a housing, or on a circuit board? These details can change the result. The rating is a reference, not a promise in every installation.
Use the same conditions when comparing candidates. Apply the rated supply voltage, keep the microphone at the specified distance, and face the sound port consistently. Measure the real unit. A calibrated SPL meter is preferable to a phone, especially in a busy workshop. Background fans, reflective walls, and mounting holes can raise or reduce readings. Noise changes everything. If the target is about 85 dB SPL, record several samples rather than trusting one reading. A difference of two or three decibels may matter in a quiet panel, yet disappear near machinery.
Distance also needs careful thought. In a free field, doubling distance can reduce sound pressure by roughly 6 dB, although enclosures and room reflections disturb that estimate. Test at the listener’s actual position when possible. Check output across the expected supply range and operating temperature, because sound can weaken outside nominal conditions. I would leave some margin above 85 dB, but not blindly. Excessive volume can make alarms unpleasant or unsafe. A failed early test often reveals a simple issue, such as a blocked opening or a buzzer mounted against soft foam.
Select Frequency and Tone: Common Piezo Designs Operate Near 2–4 kHz
Choosing an active piezo buzzer starts with its sound frequency. Many common designs operate between 2 and 4 kHz, where human hearing is quite sensitive. This range can produce a clear alert without demanding excessive electrical power. Still, frequency alone should not decide the part. Check the rated voltage, sound pressure level, current draw, and operating temperature.
An active buzzer contains an internal oscillator, so it usually sounds when connected to suitable DC power. That simplifies circuit design, especially in compact control panels or warning devices. Listen for the actual tone during testing. A datasheet value may not match the final enclosure, because plastic walls can amplify or soften certain frequencies. The difference can be noticeable.
A practical test uses the intended supply voltage and mounting position. Measure the sound one meter away, then repeat the test inside the finished product. Avoid placing the buzzer beside a vibrating transformer or loose panel. Mechanical noise can distort your judgment.
The 2–4 kHz guideline is useful, but it is not universal. Some users may find a sharp 3 kHz tone uncomfortable, while a lower tone may disappear in machinery noise. I would not choose by frequency alone. Test several tones when possible, and record results from both quiet and noisy environments. Small details matter here.